Create a new Client
Follow the steps below to add new Clients to your MainWP Dashboard:
- From your MainWP Dashboard, navigate to Clients > Add Client
- Fill in the client name (mandatory) and any other desired fields
NOTE: MainWP Pro Reports extension by default uses token [client.email] for the Send email to field. So if you wish to use Pro Reports and the [client.email] token, please fill in the Client email information on this page.
The Client Email field supports multiple email addresses. Simply separate them by a comma: email1@gmail.com, email2@gmail.com
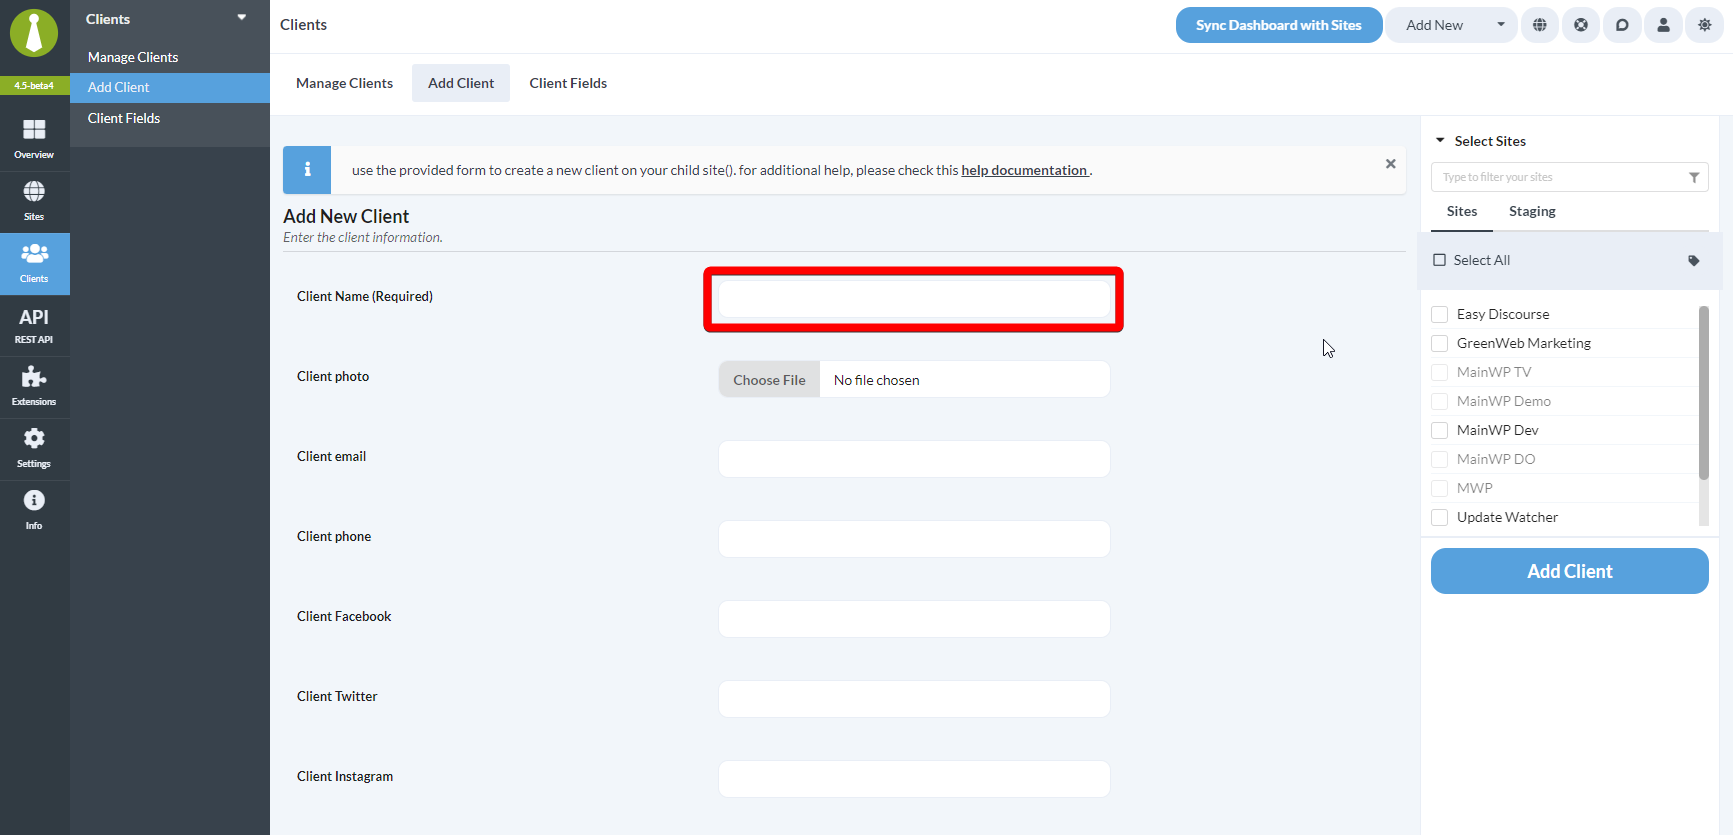
- Optionally, add the Client to the desired Child Sites in the sidebar on the right

- Click the Add Client button
Update a Client
- From your MainWP Dashboard, navigate to Clients > Manage Clients page
- Select Edit action from the menu on the right
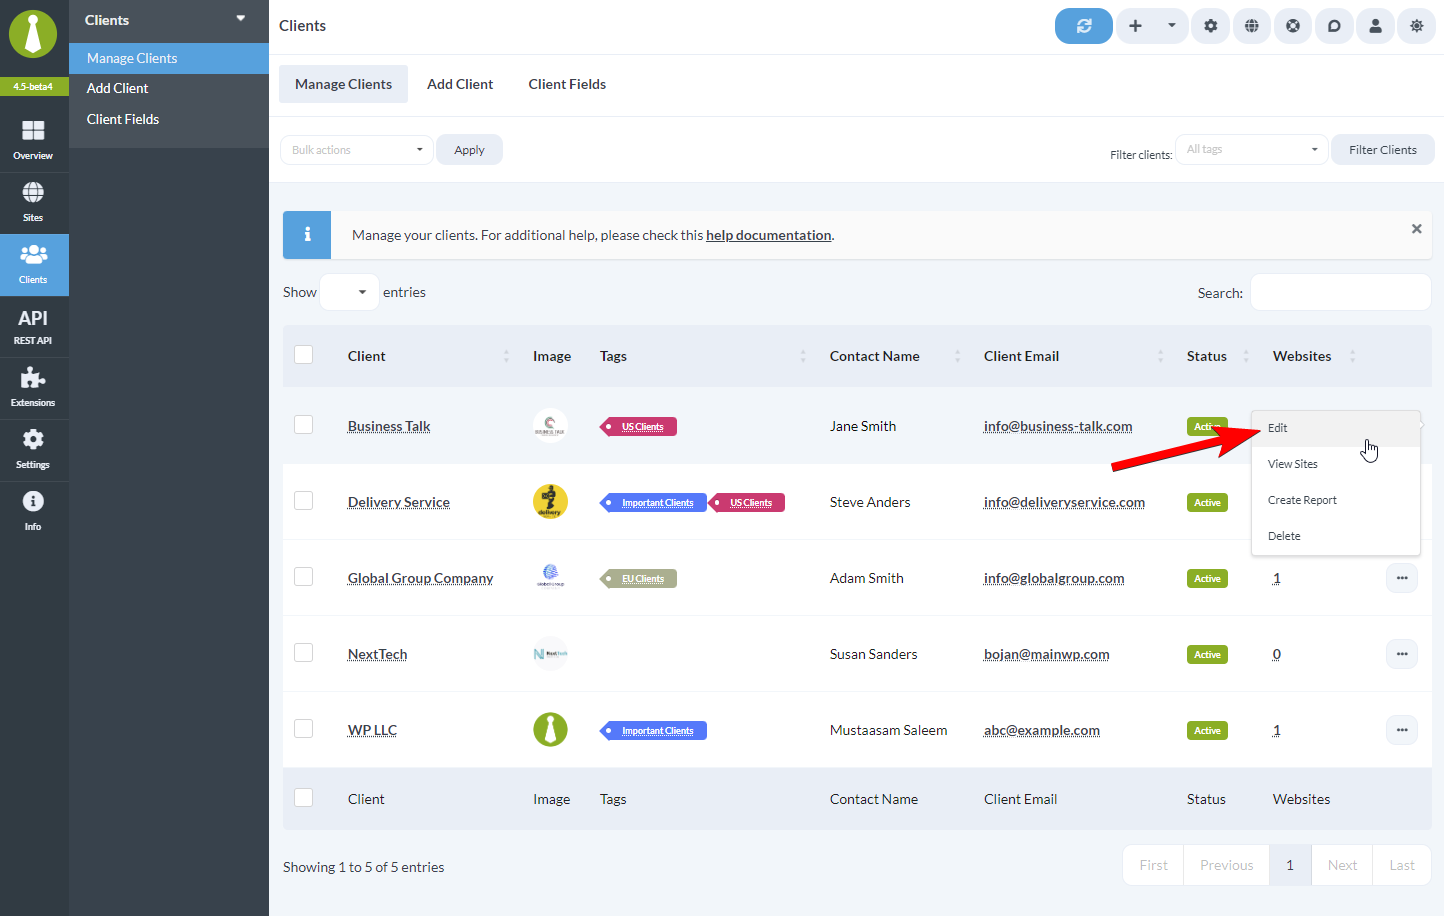
- Change the desired values and click the Update Client button
Delete a Client
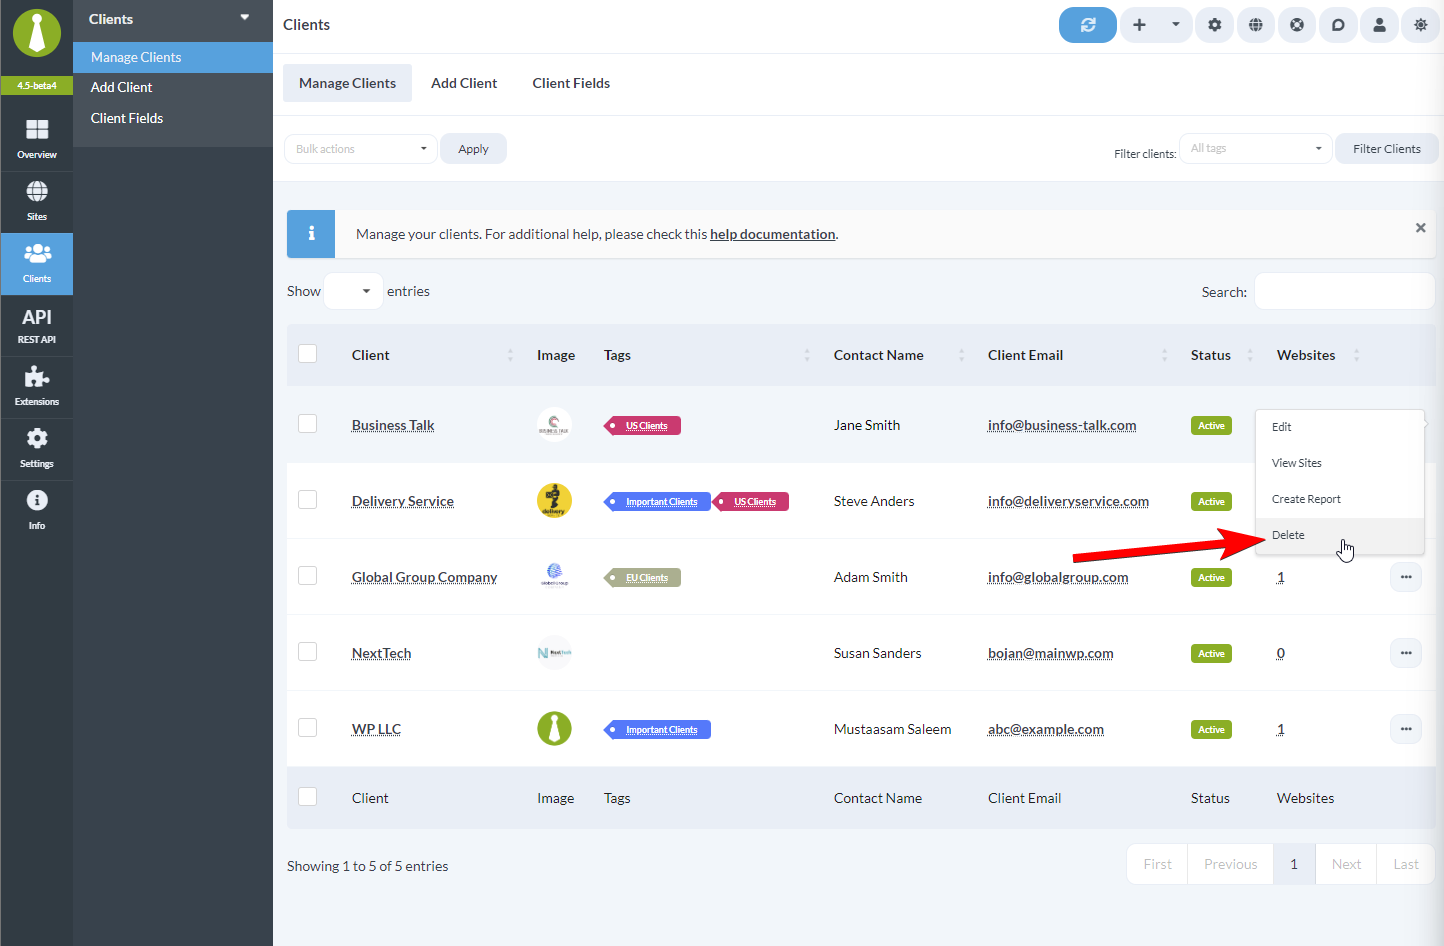
Delete a single Client
To delete a single Client, select the Delete action from the menu on the right.
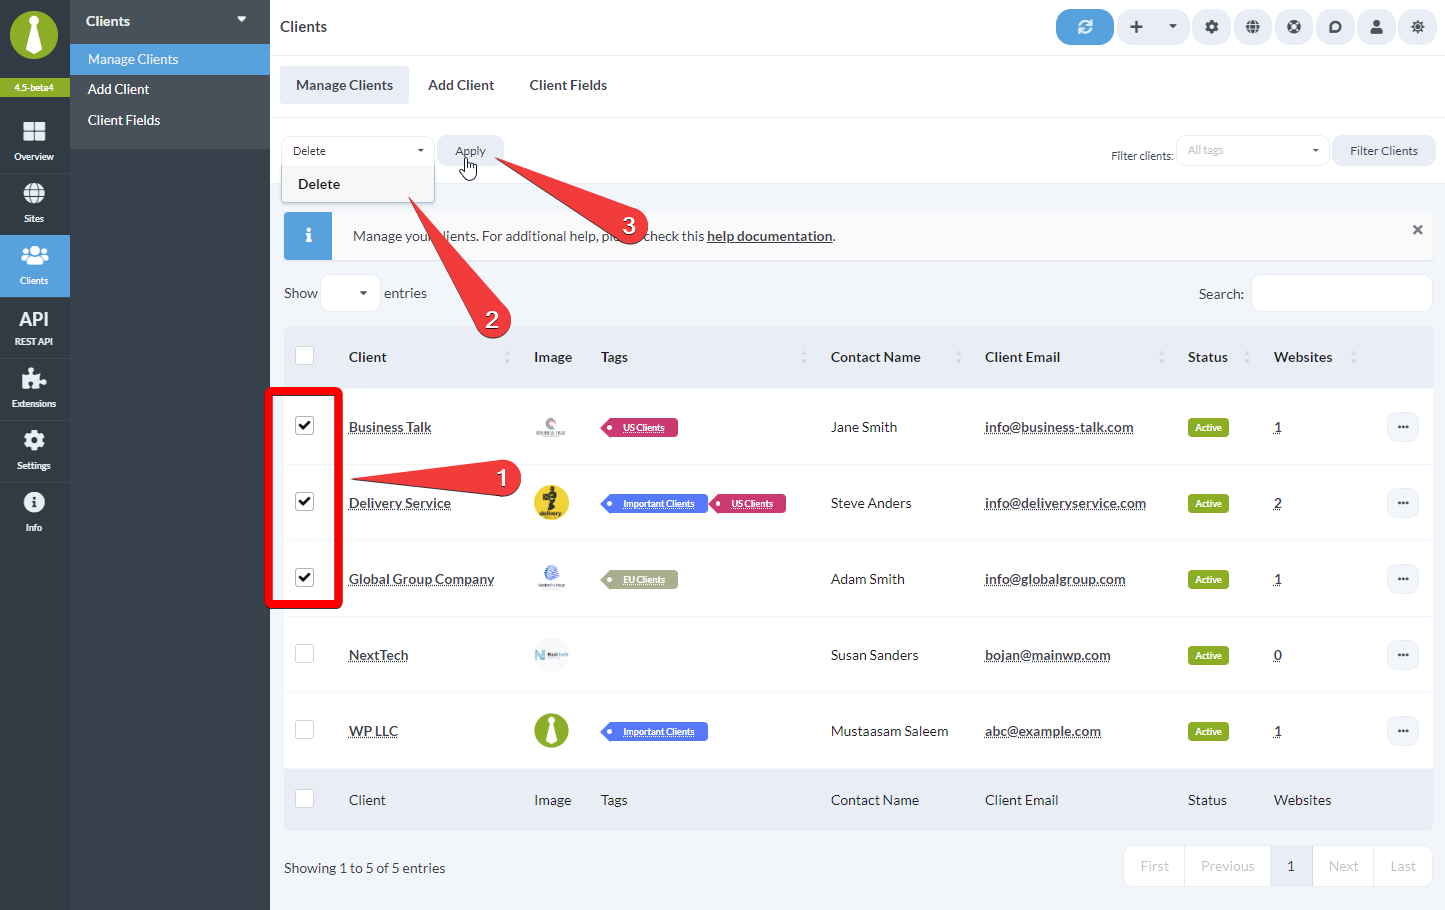
Delete Clients in bulk
- Select the Clients you wish to delete from the table
- Select the Delete action from the bulk actions dropdown menu
- Click the Apply button
Customize the Manage Clients table
- From your MainWP Dashboard, navigate to Clients > Manage Clients page
- Click the Page Settings (the cog icon) in the top right
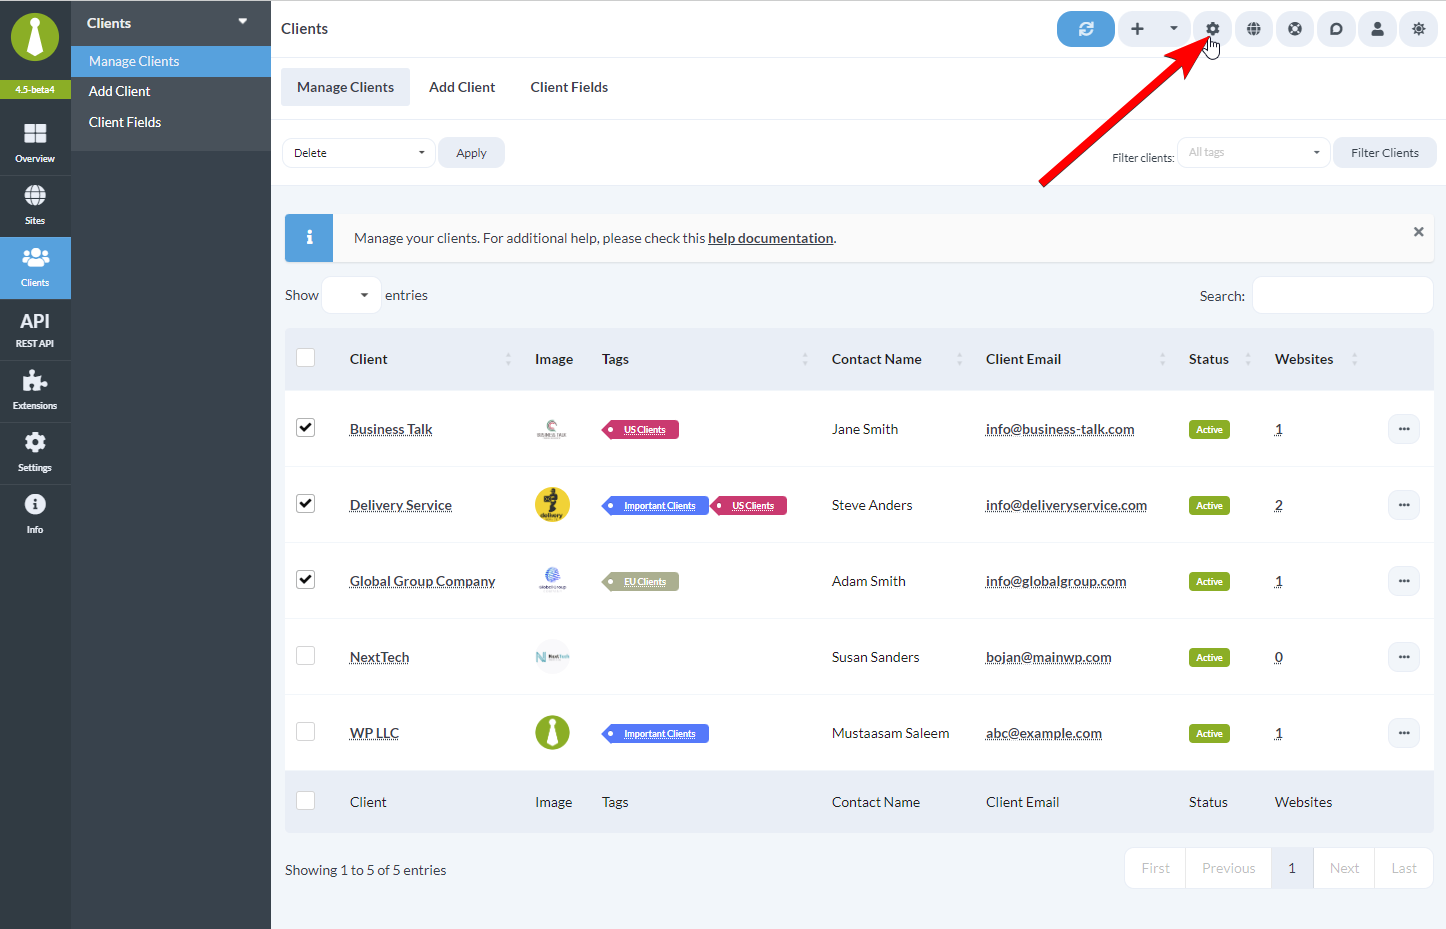
- Enter the desired number of Clients to display per page, and select the desired columns to show in the table

- Click the Save Settings button
Client Card
The Client Card page displays an overview of the information you’ve added to a particular client and offers several useful functions.
The information is organized into widgets which can be resized and re-arranged however you want.
The Manage Sites button will open the Manage Sites page with the table filtered to show only the Child Sites belonging to that client.
The Edit Client button opens an Edit page for that particular client where you can change any and all information related to that client.
The Create Report button will open the Create Reports page in the Pro Reports extension, with all of the Child Sites belonging to that Client already selected in the Sidebar.
The Suspend Sites button suspends all Child Sites belonging to that Client.
Updates cannot be performed on suspended sites, neither automatic nor manual. And the suspended site cannot be selected in the metabox.

Recent Pages, Posts and Non-MainWP Changes Widgets
In version 4.5, we added Recent Posts, Recent Pages, and Non-MainWP changes widgets to the Client Overview page.
These widgets function similarly as they do on the Overview page, with the exception that here, they will show data only from child sites assigned to a particular client.

Client Fields
Client Fields allows you to create new data fields for your Clients.
And the tokens defined in these fields can be used to insert the related data into client reports created by our Pro Reports extension.
For each Client, go to the Edit page to set the field values. Once values are set, you will easily display that new data in the reports.
Add a New Field
- From your MainWP Dashboard, navigate to Clients > Client Fields page
- Click the New Field button
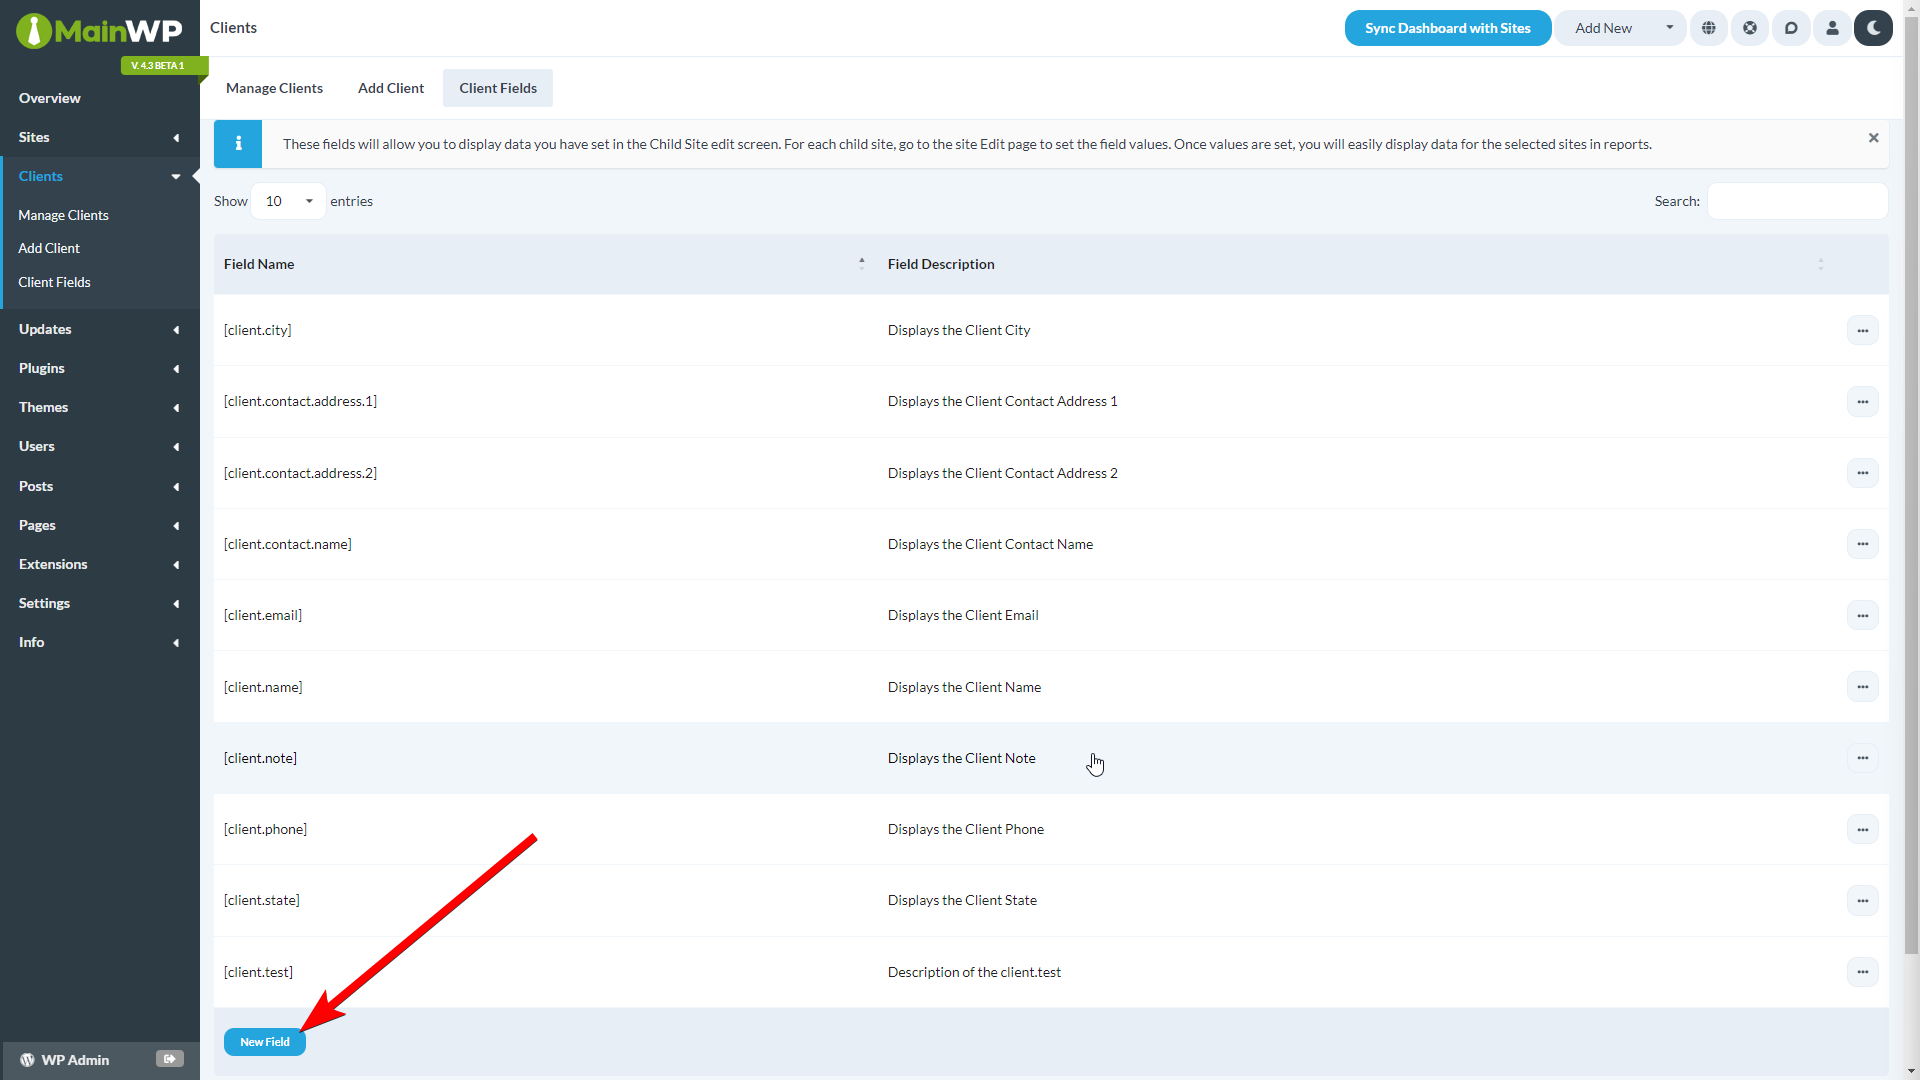
- Set the Field Name, which can be used to add information to Pro Reports, and the Description
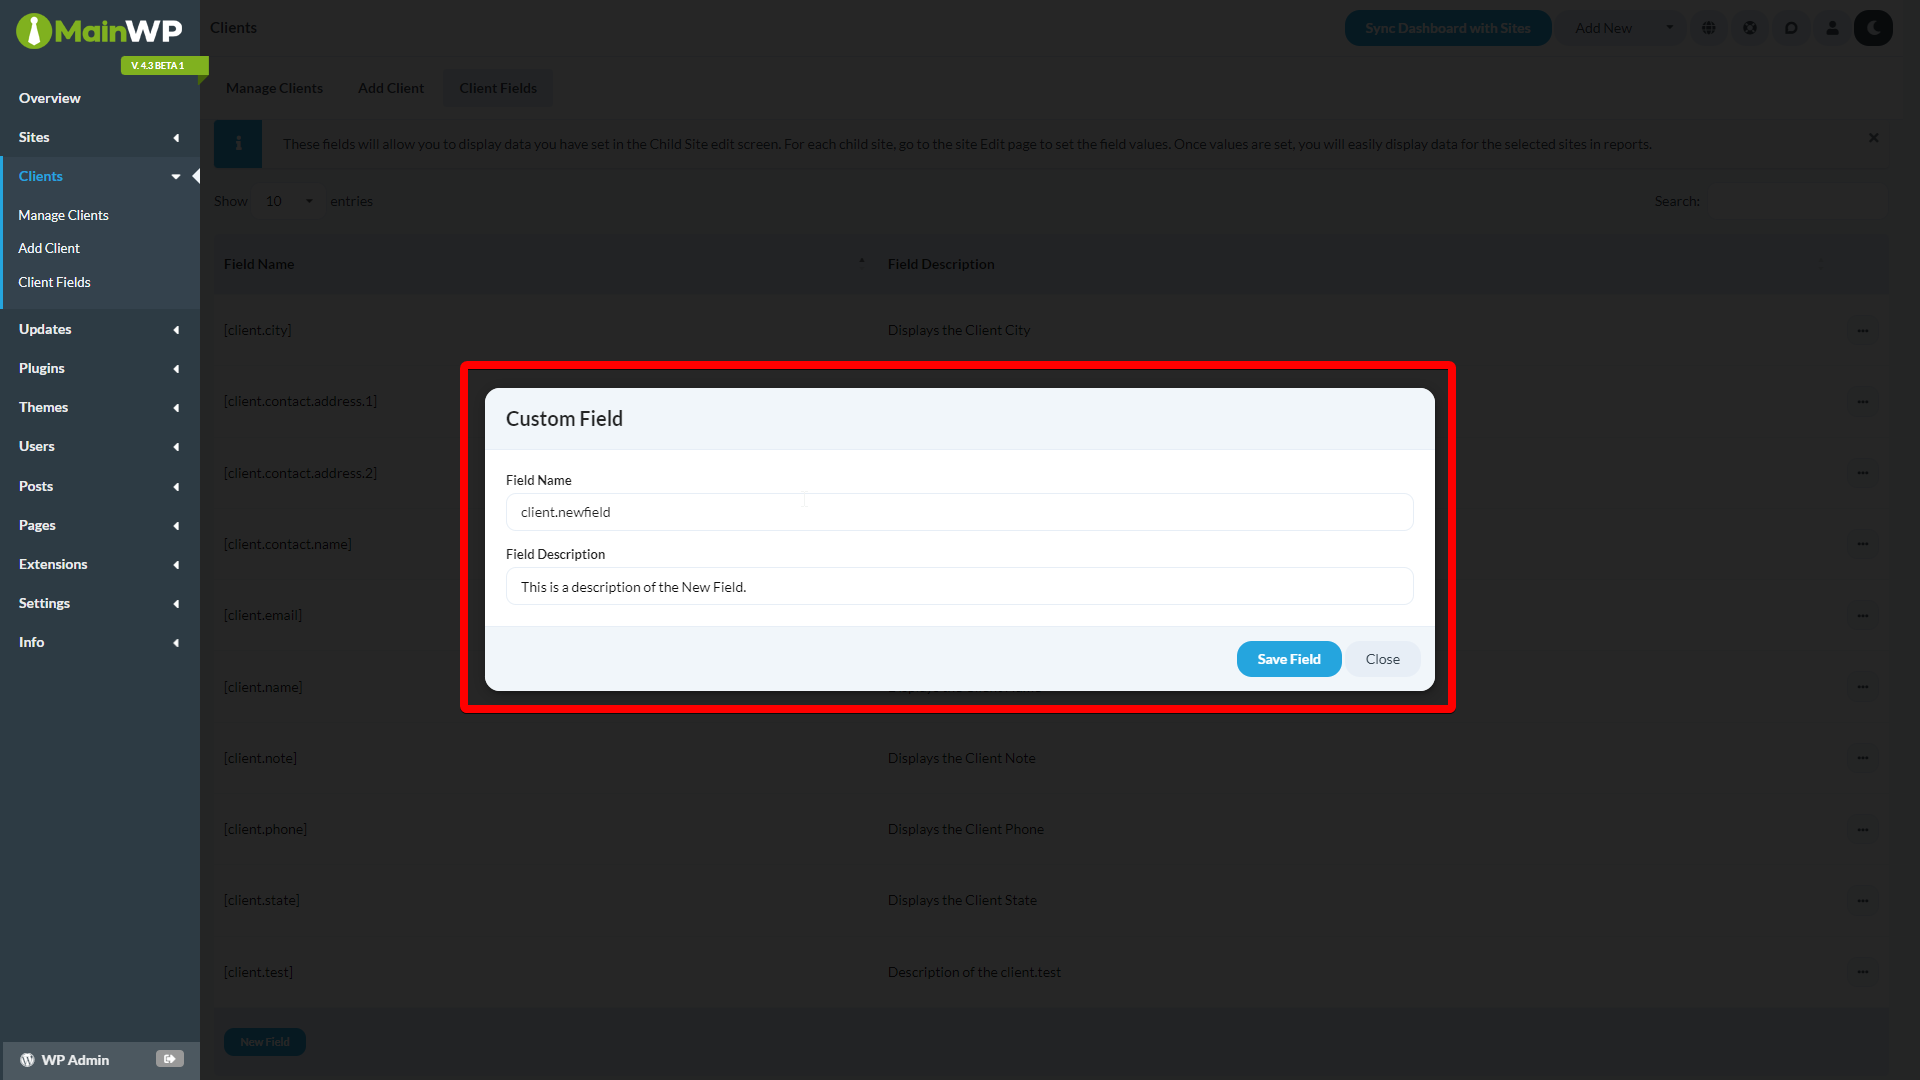
- Click the Save Field button
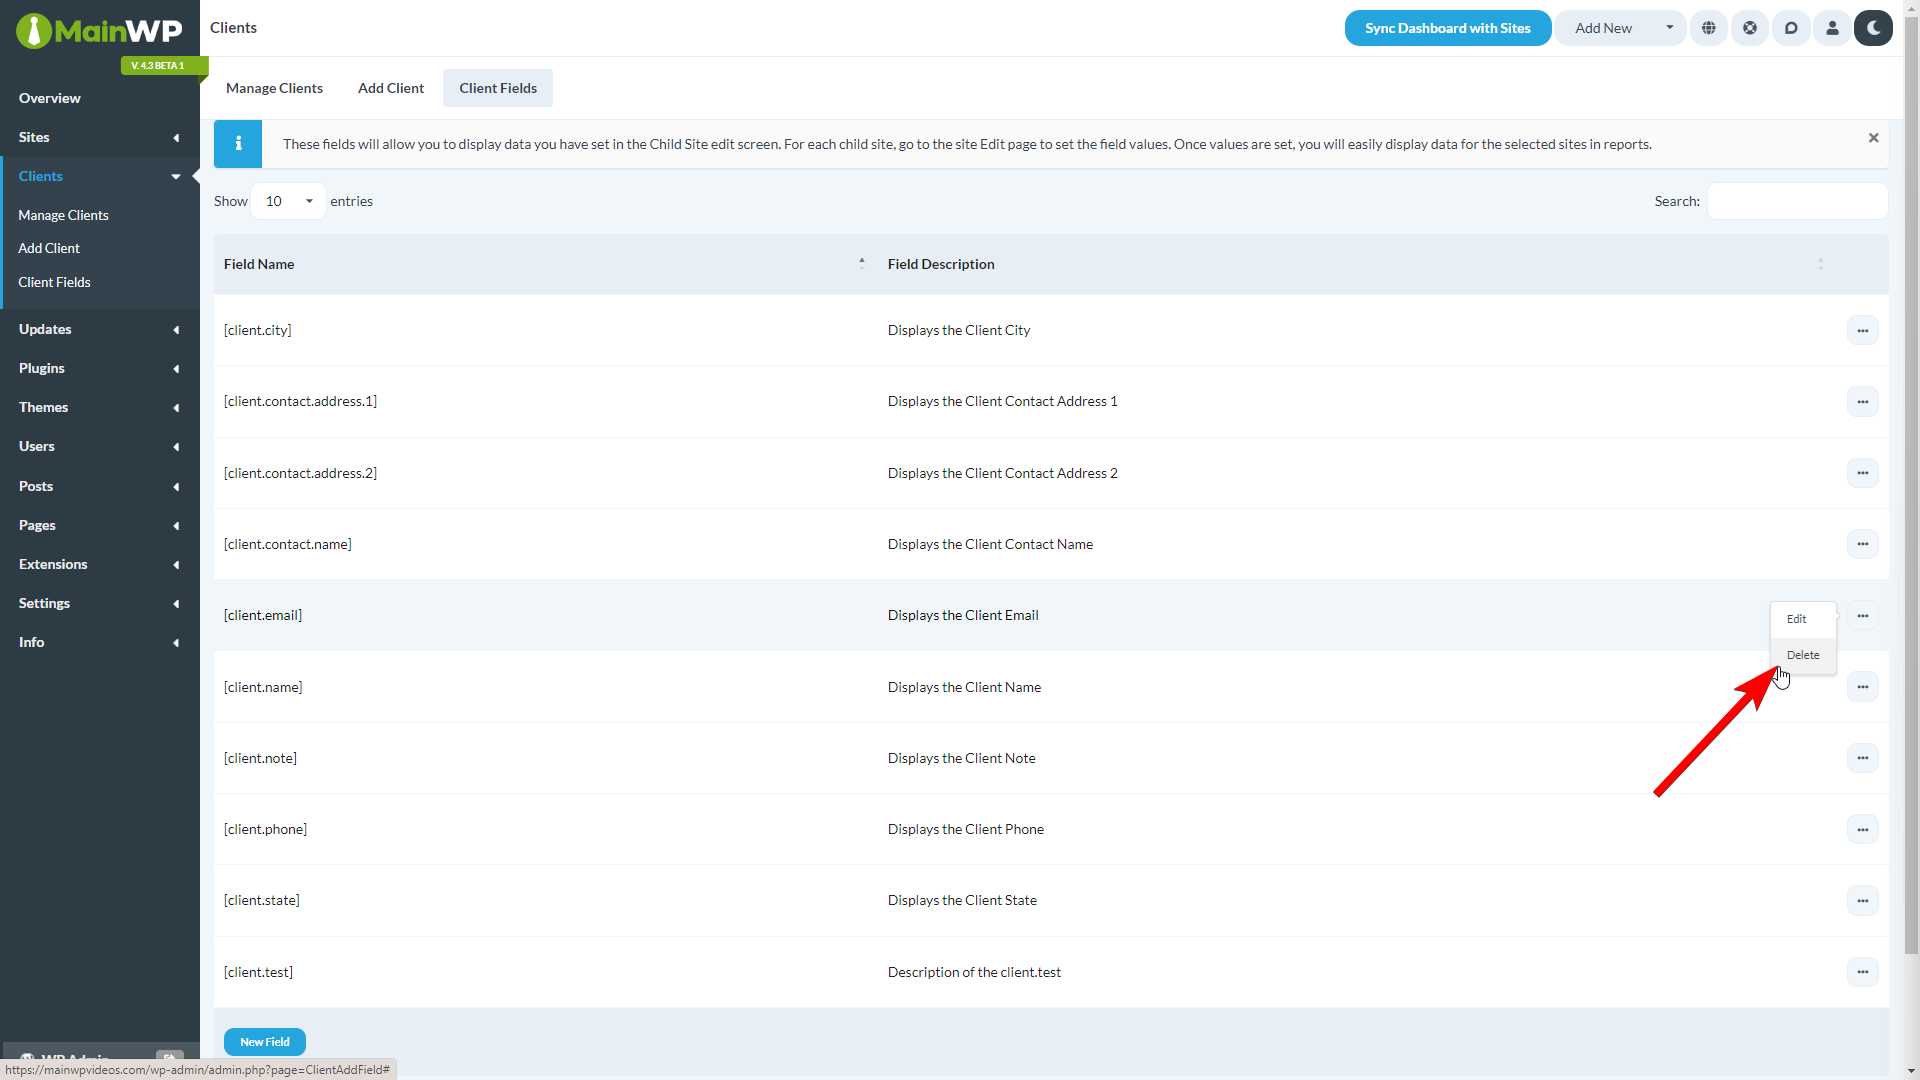
Delete a Field
- From your MainWP Dashboard, navigate to Clients > Client Fields page
- Find the desired field in the table, and select Delete action from the menu on the right
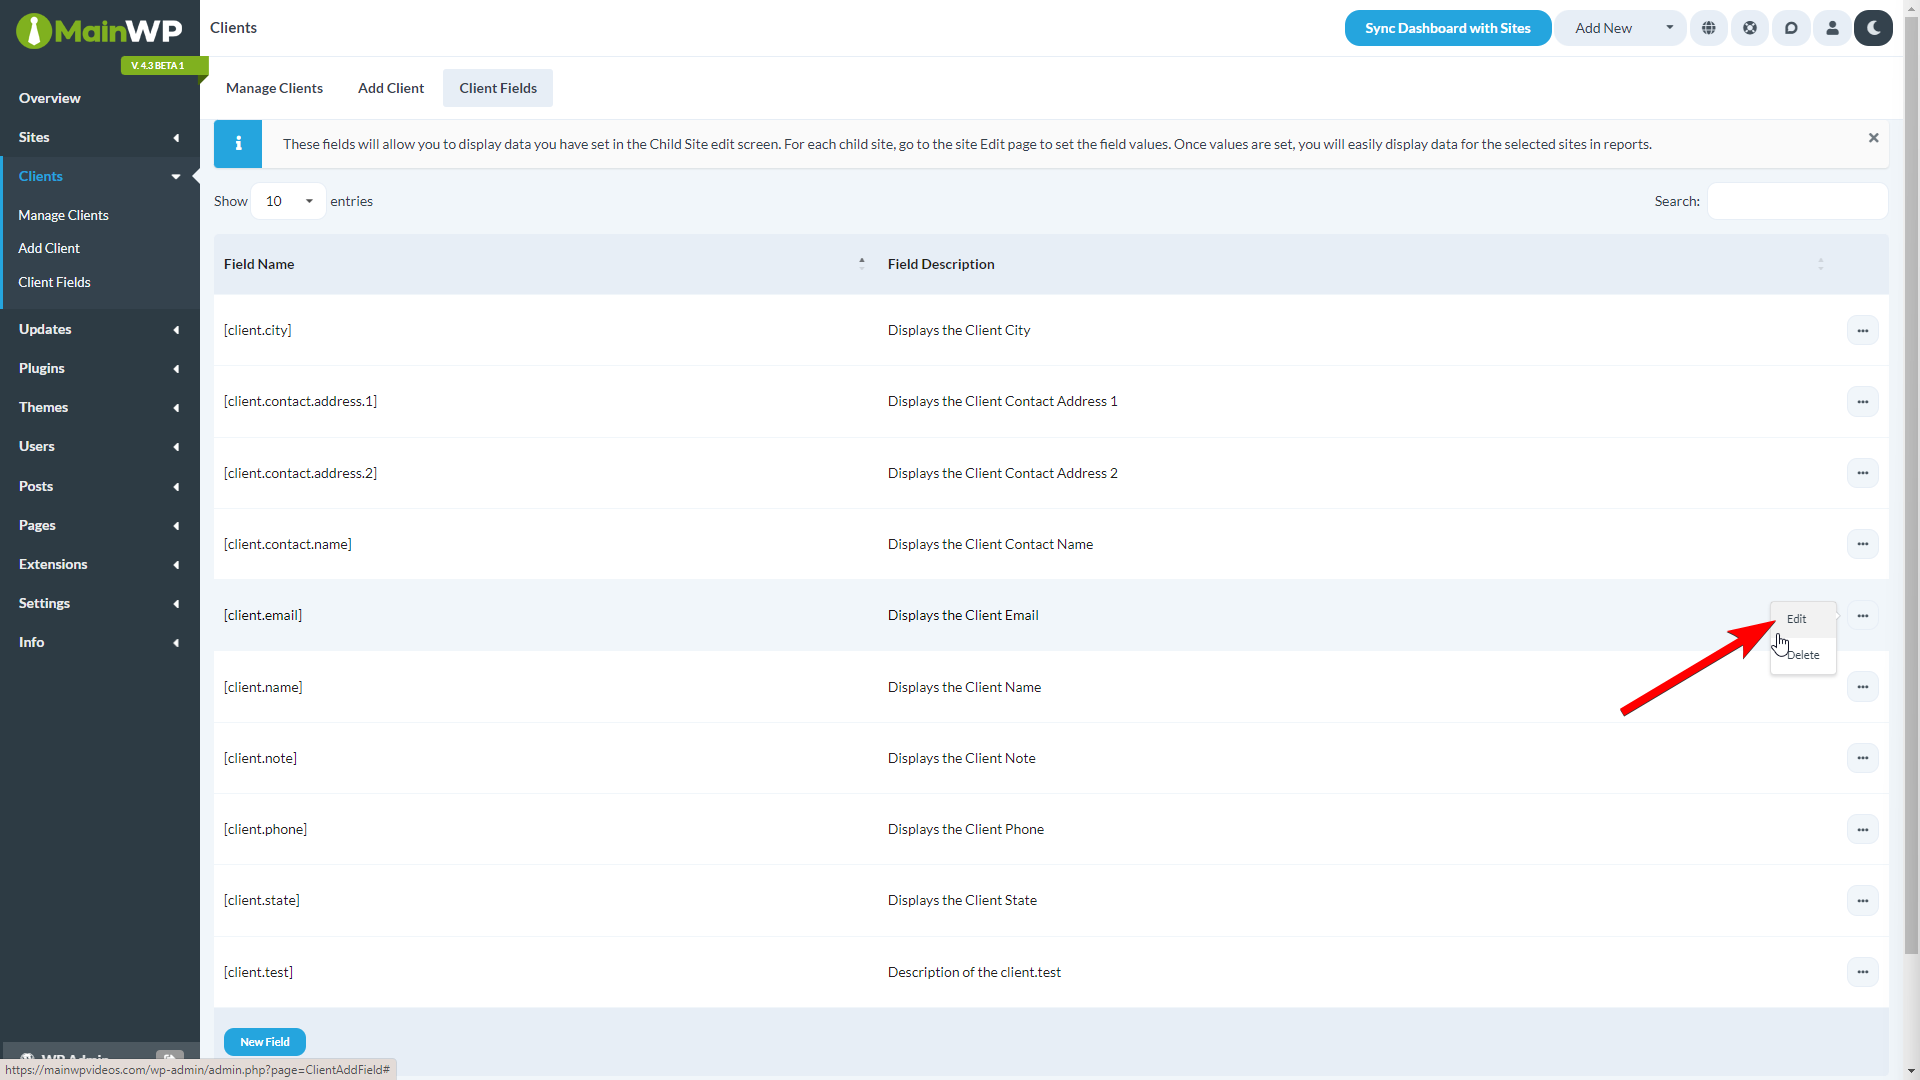
Edit a Field
- From your MainWP Dashboard, navigate to Clients > Client Fields page
- Find the desired field in the table, and select Edit action from the menu on the right
- Make the desired changes to Field Name and Field Description
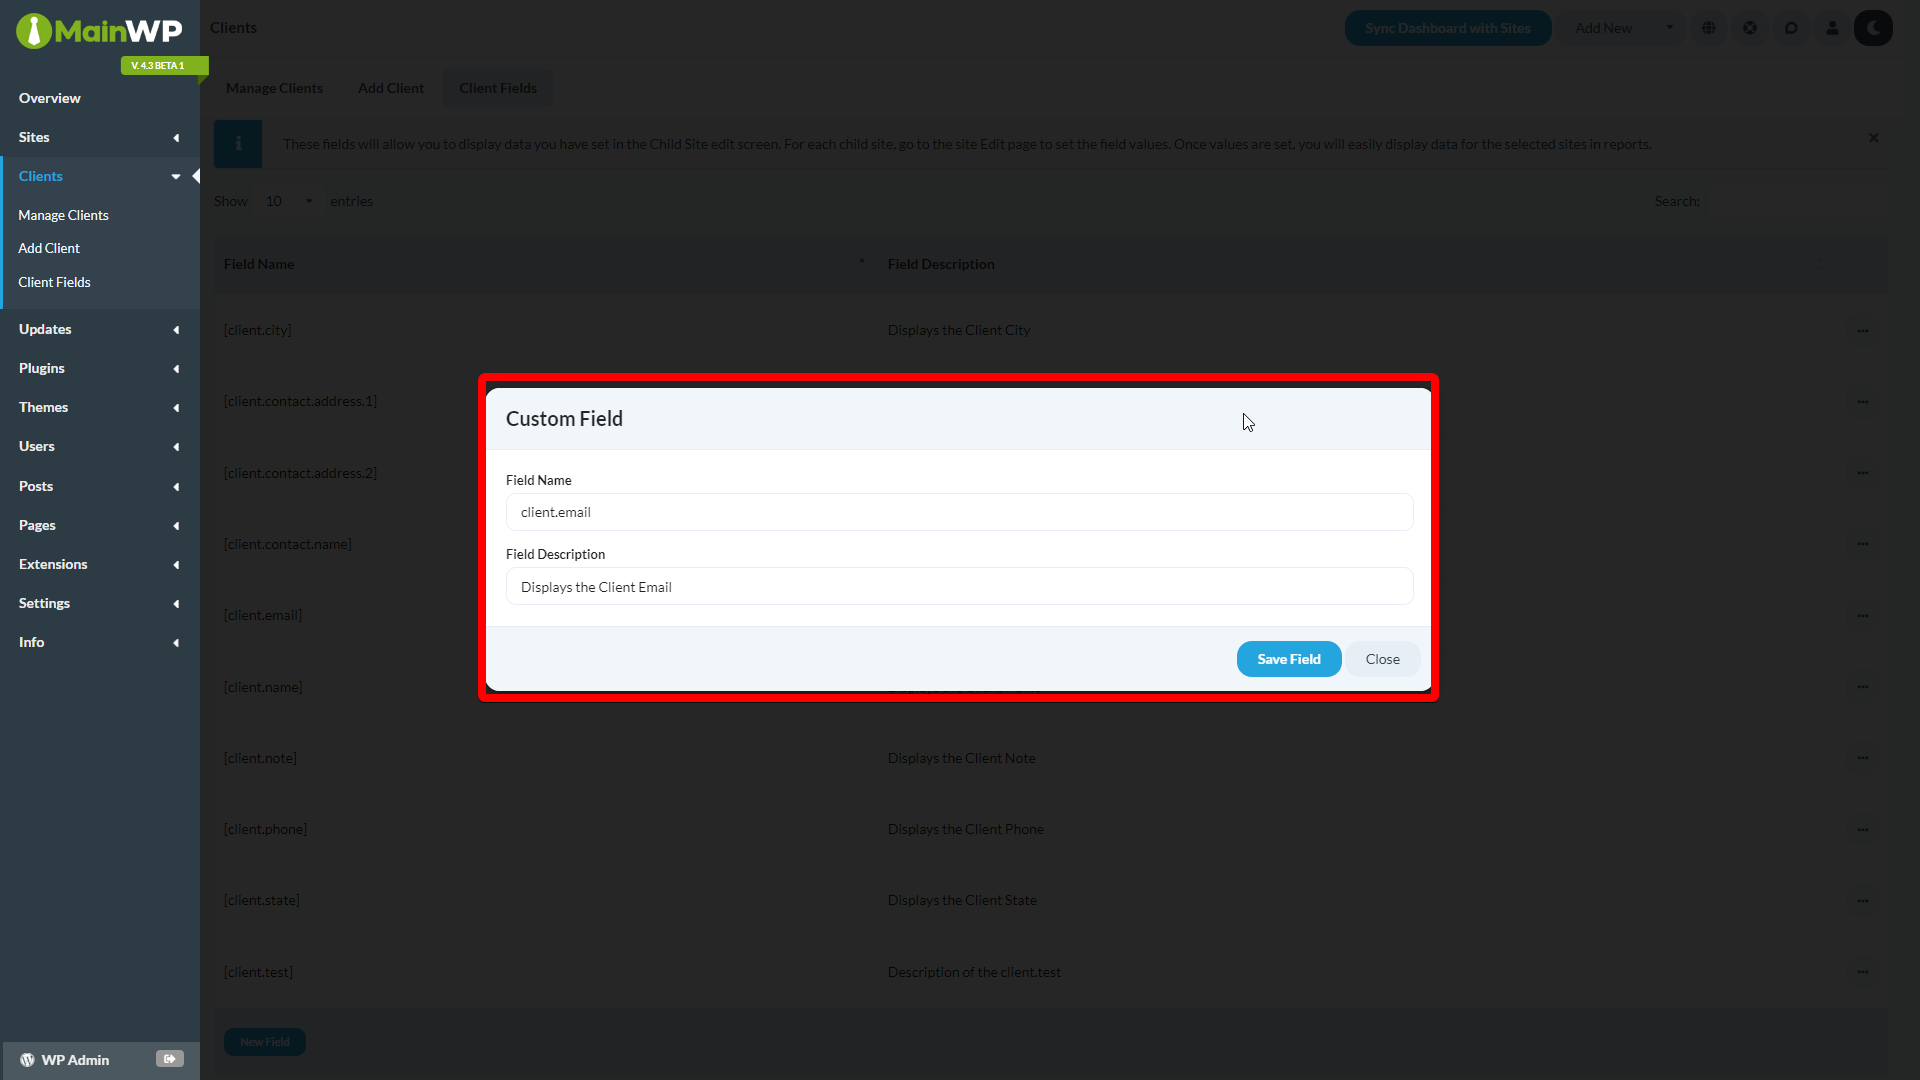
- Click the Save Field button