Installation of the MainWP UpdraftPlus Extension requires two important steps:
- Installing the Extension itself on your MainWP Dashboard site
- Installing the UpdraftPlus plugin on Child Sites
Installing the Extension
The MainWP UpdraftPlus Extension needs to be installed only on your MainWP Dashboard site. You can install it as any other MainWP Extension.
Installing the Plugin
For the proper use of the MainWP UpdraftPlus Extension, you need to install the UpdraftPlus Plugin on your child sites.
Install from MainWP Dashboard
- Login in to your MainWP Dashboard
- Go to the MainWP > Plugins > Install > Upload page
- Click the Upload Now button
- Upload the UpdraftPlus plugin
- Select your child sites
- In the Installation Options box, make sure that the Activate after installation option is selected.
- Click the button to complete the installation.
- Once the installation is complete, Sync your MainWP Dashboard.
Install directly on Child Site
- Login into your child site
- Go to the WP > Plugins > Add New page
- Click the Upload Plugin button
- Upload the UpdraftPlus plugin
- Click the Install button
- Click the Activate button
Important Note
After installing the UpdraftPlus plugin, it is required to Synchronize your sites so your MainWP Dashboard becomes aware that the plugin has been installed and activated.
UpdraftPlus Backups Dashboard
From the MainWP > Extensions > UpdraftPlus > Overview page, you can monitor all of your child sites where you have the UpdraftPlus plugin installed. In the sites list, you will be notified if the plugin has an update available or if the plugin is deactivated.
- In case the plugin is not activated, the Activate action will appear in the corresponding site row.
- If there is a new version of the plugin, the Update action will appear in the corresponding site row.
Available Actions
From the MainWP > Extensions > UpdraftPlus > Overview page, you can hide/unhide the UpdraftPlus plugin on your child sites, quickly access the plugin settings on a child site or the WP Admin section. Actions are provided in the actions menu.
Important Notes
If you know that you have the plugin installed on a child site, but the child site doesn’t appear in the list, try to re-sync your sites.
UpdraftPlus Settings
MainWP UpdraftPlus Extension allows you to manage UpdraftPlus Plugin settings on your child sites. From the settings tab, you can set the following options for your child sites.
- Files Backup Schedule
- Database Backup Schedule
- Include/Exclude Files from Backups
- Database options
- Notifications
- Set Remote Storage options
- Note: Due to security reasons imposed by the providers of remote storage options, some of them may need to be authenticated on the child site itself. After that initial authentication, the rest of the setup can be performed via MainWP Dashboard.
- Advanced Debugging Options
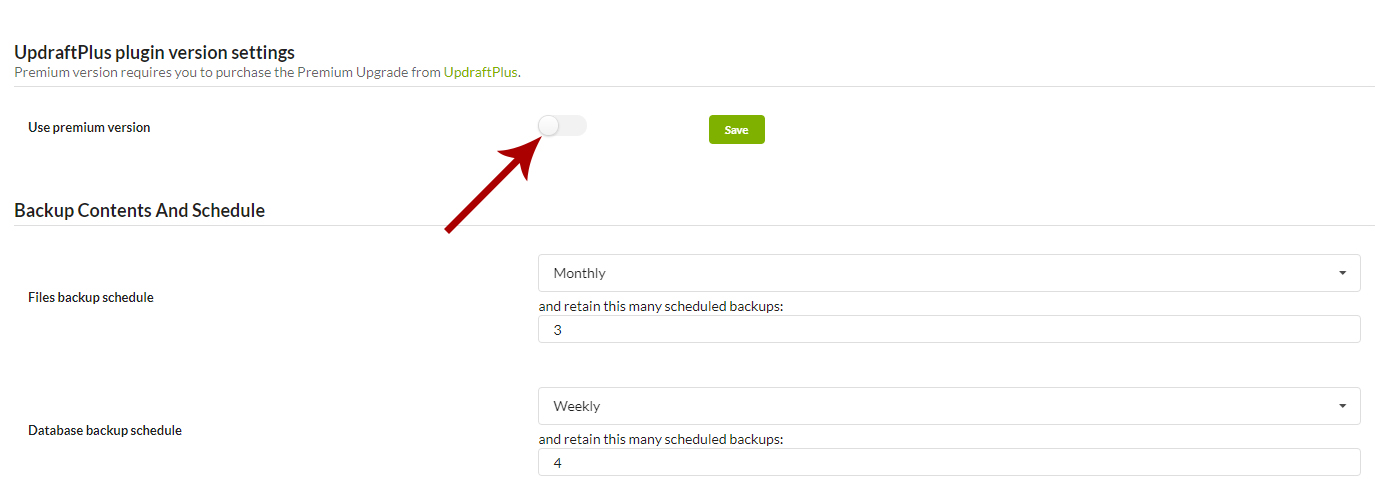
If you use the Premium version of the UpdraftPlus Plugin, make sure the Use Premium Version is set to YES. This will show you premium version options.
UpdraftPlus Settings per Child Site
All UpdraftPlus Settings can be set separately for different child sites. To do this, go to the MainWP > Sites page, and in the sites table, under the child site URL, you can find the UpdraftPlus Backup/Restore link. This link will open Individual site UpdraftPlus Options.
The Settings tab will show you all plugin options to set custom settings for the child site. To override global options, set the Override General Settings to YES and click the Save button.
MainWP UpdraftPlus Extensions Backup/Restore
To backup your child site with the MainWP UpdraftPlus Extension
- go to the MainWP > Sites > Manage Sites page
- Locate the site that you want to backup and click Edit action
- Go to the UpdraftPlus tab

On the backup child site UpdraftPlus Backups page on the Status tab:
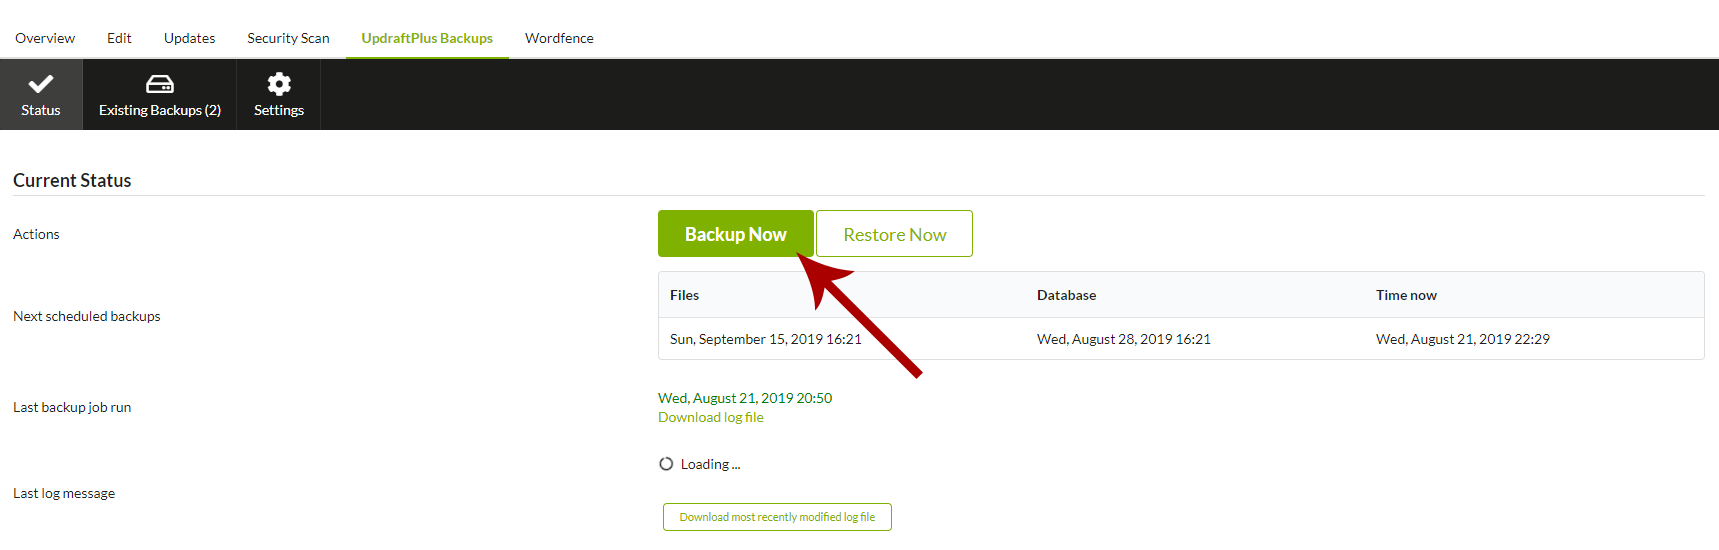
You will find the Backup Now and Restore buttons.
To create a Backup of your child site, click the Backup Now link.
To restore a backup of your child site, click the Restore button, and follow the process.

Schedule Backups With MainWP UpdraftPlus Extension
MainWP UpdraftPlus Extension allows you to schedule your backups easily. To set scheduled backups, go to the Extension Settings page and locate the File Backups Intervals and the Database Backup Intervals options.
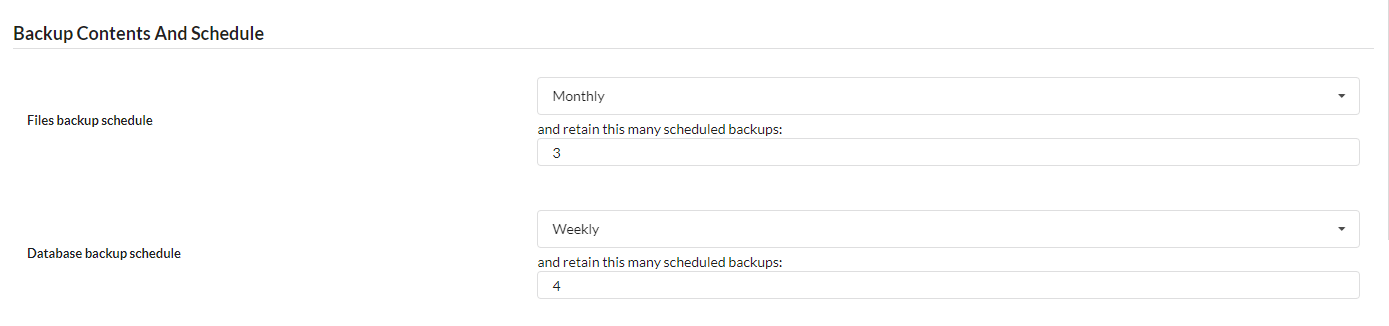
Set the frequency of the wanted backup and click the Save Settings button at the bottom of the page.
To see your schedule status, go to the Scheduled Backups tab, and check the times in the provided table.

To be sure you see the fresh data, select wanted sites, and click the Reload Data button.