The MainWP Matomo (formerly Piwik) Extension gives you valuable insights into your visitor’s search and traffic patterns, your marketing campaigns, and much more, allowing you to optimize your strategy and the online experience of your users. Matomo is the leading open-source web analytics platform and can help you gather and analyze important information about your visitors. Track Key Performance Indicators such as visits, goal conversion rates, downloads, keywords, and much more.
Important Notes
The Matomo Extension doesn’t allow you to insert the Piwik tracking code on your child sites. To do that, you will need to add the code manually or use a 3rd party plugin.
The Matomo Extension is compatible only with Matomo Dashboard, On-Premise or Cloud. Matomo for WordPress plugin and Piwik Pro are not supported.
That means that the extension cannot ready data directly from the Matomo for WordPress plugin!
Use this Extension To Track:
- Visits
- Pageviews
- Pages/Visit
- Bounce Rate
- Average Time on Site
- New Visits
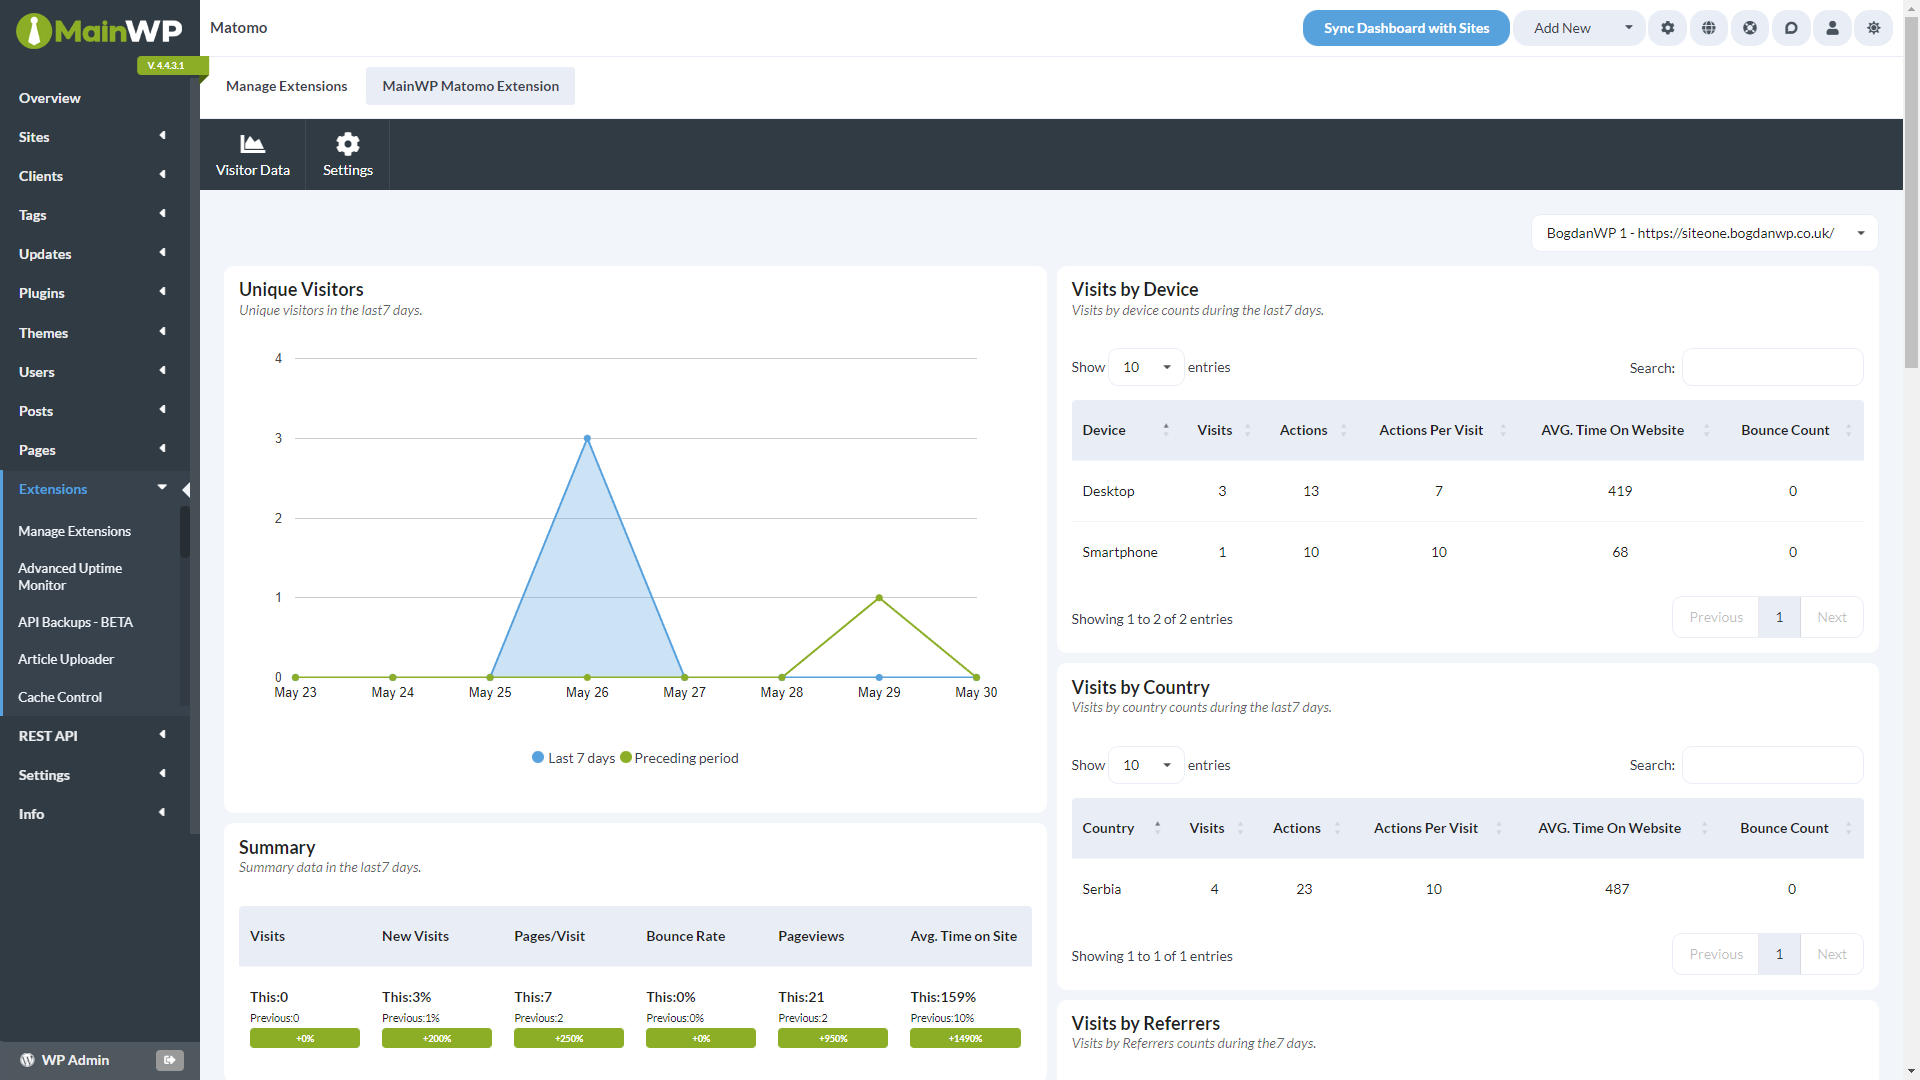
Matomo (formerly Piwik) Analytics Widget
The Matomo Analytics widget allows you to track data in your MainWP Dashboard. The global widget will be added to the Overview page and individual widget on each child site overview page.
Extension Configuration
Matomo (formerly Piwik) Extension configuration requires two important steps:
- Establishing Connection with your Matomo (formerly Piwik) Site
- Assigning sites from your Matomo Site to Child Sites in your MainWP Dashboard
1. Establishing Connection with your Matomo (formerly Piwik) Site
- Login in to your MainWP Dashboard
- Go to the MainWP > Extensions > Matomo > Settings page
- Locate the Connect Matomo (formerly Piwik) Dashboard section
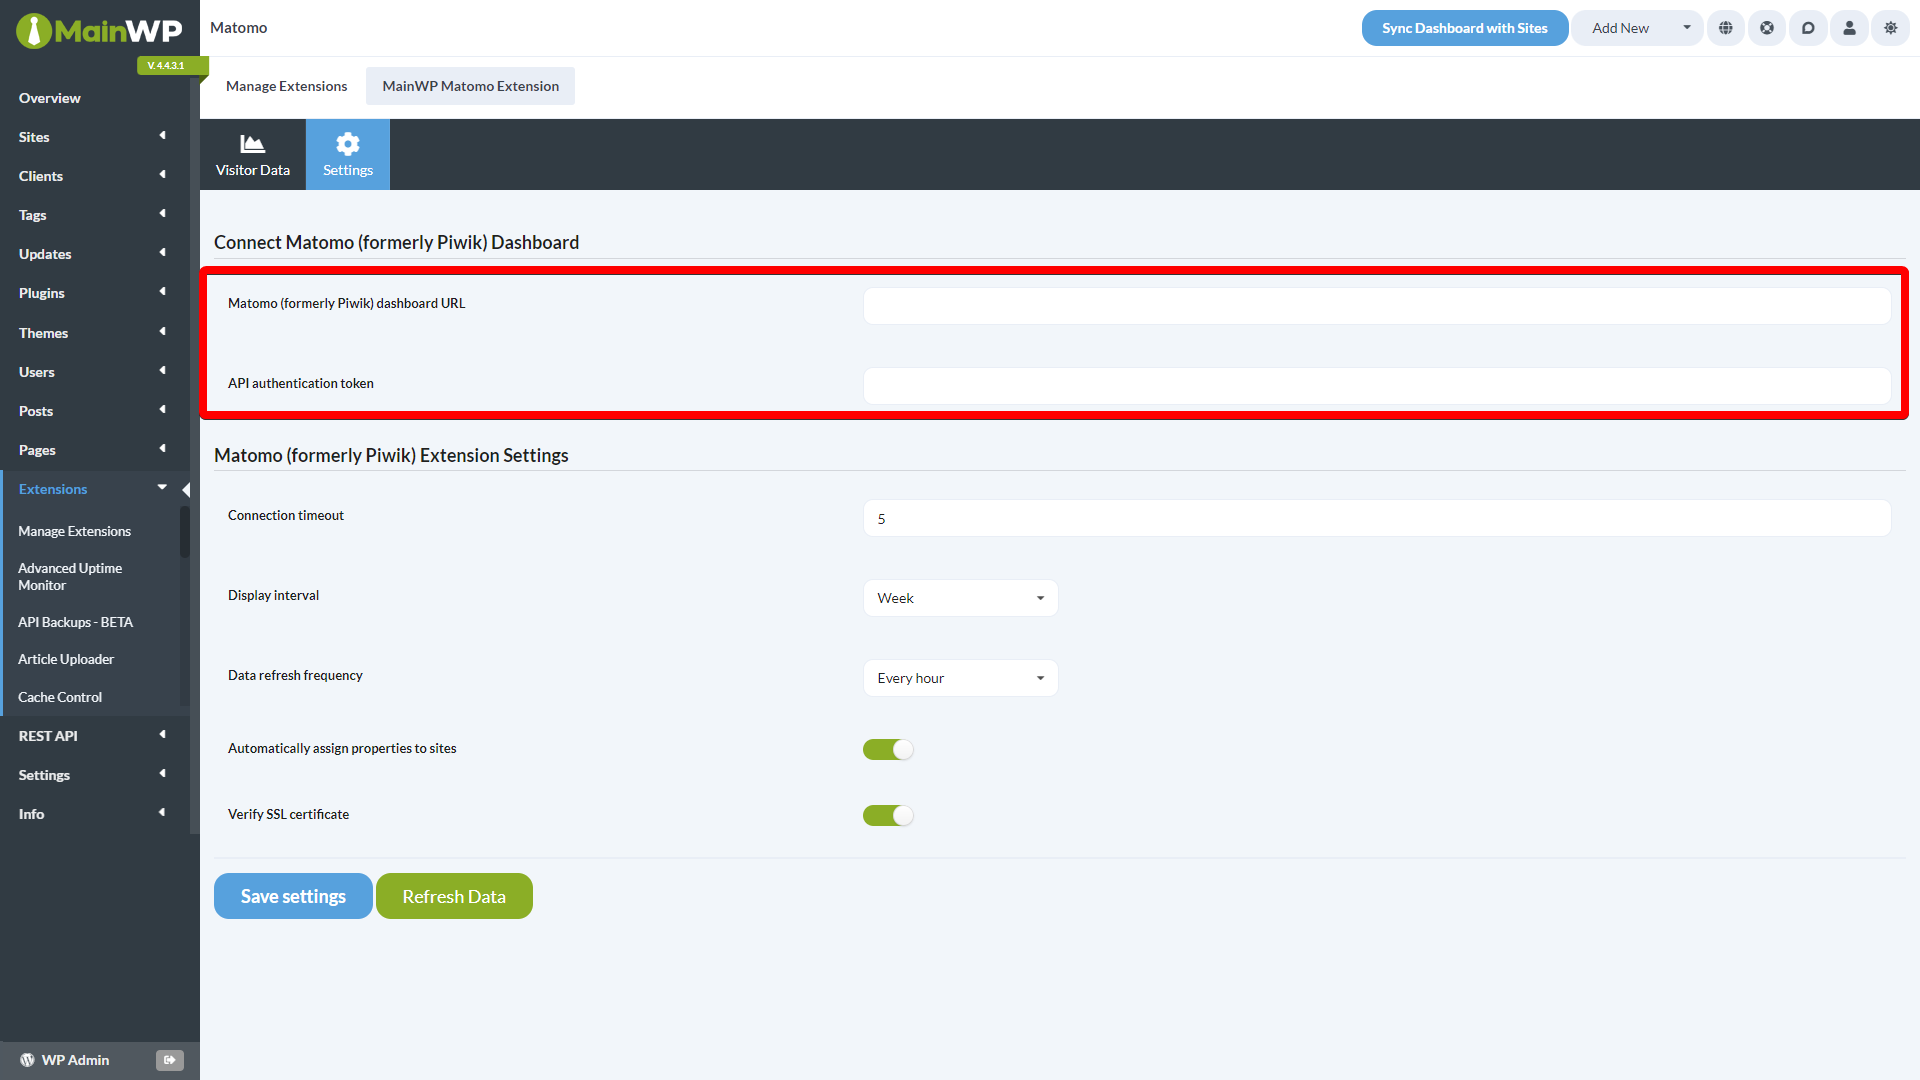
- Enter your Piwik Site (Dashboard) URL
- Enter your API Authentication Token (The API Authentication Token looks like this: c26364b7sfbb743f1xadea17f73c4132 (this is a sample number DO NOT use it in your installation). You can find your auth token in your Piwik Dashboard on the Personal > Settings > API Authentication Token page)
- Set the Connection Timeout Limit (We suggest 5-10 seconds)
- Set the Time Interval (Controls the visual time span of the Widget graph. You can view your sites for the past week or month)
- Set the Refresh Rate (Set how often you want to grab data from your MainWP Dashboard to update your reports)
- Click the Save Settings button
2. Assigning sites from your Piwik Site to Child Sites in your MainWP Dashboard
- Go to the MainWP > Sites > Manage Sites page
- Locate your first child site and click the Edit action

- Locate the General Options box
- Locate the Site from your Piwik account option and select the corresponding website

- Click the Update Site button
- Repeat the process for all your child sites
How to enable Unique Visitors in the extension
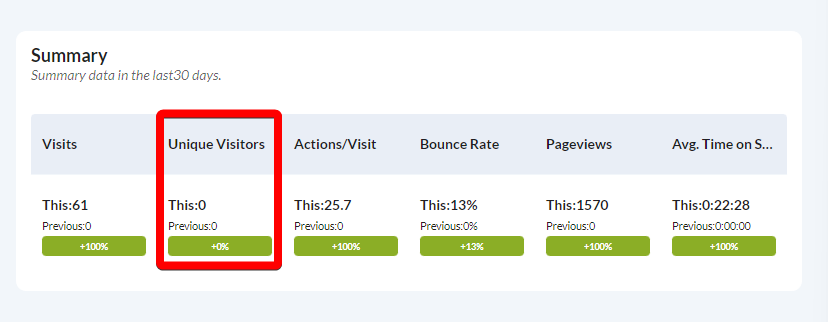
MainWP Matomo extension fetches data via API about the last 7 or last 30 days from the Matomo Dashboard.
Those date ranges are considered to be “custom date ranges” by Matomo.
Out of the box, Matomo calculates Unique Visitors for the Period of Day, Week, and Month. It does not calcualate it for Year or for custom ranges such as last 7 or 30 days.
To enable this calculation, please follow the instructions in this Matomo help document: https://matomo.org/faq/how-to/faq_113/