Enable the Contact Support Feature on All Child Sites
- Login in to your MainWP Dashboard
- Go to the MainWP > Extensions > White Label page
- Go to the Support Form tab
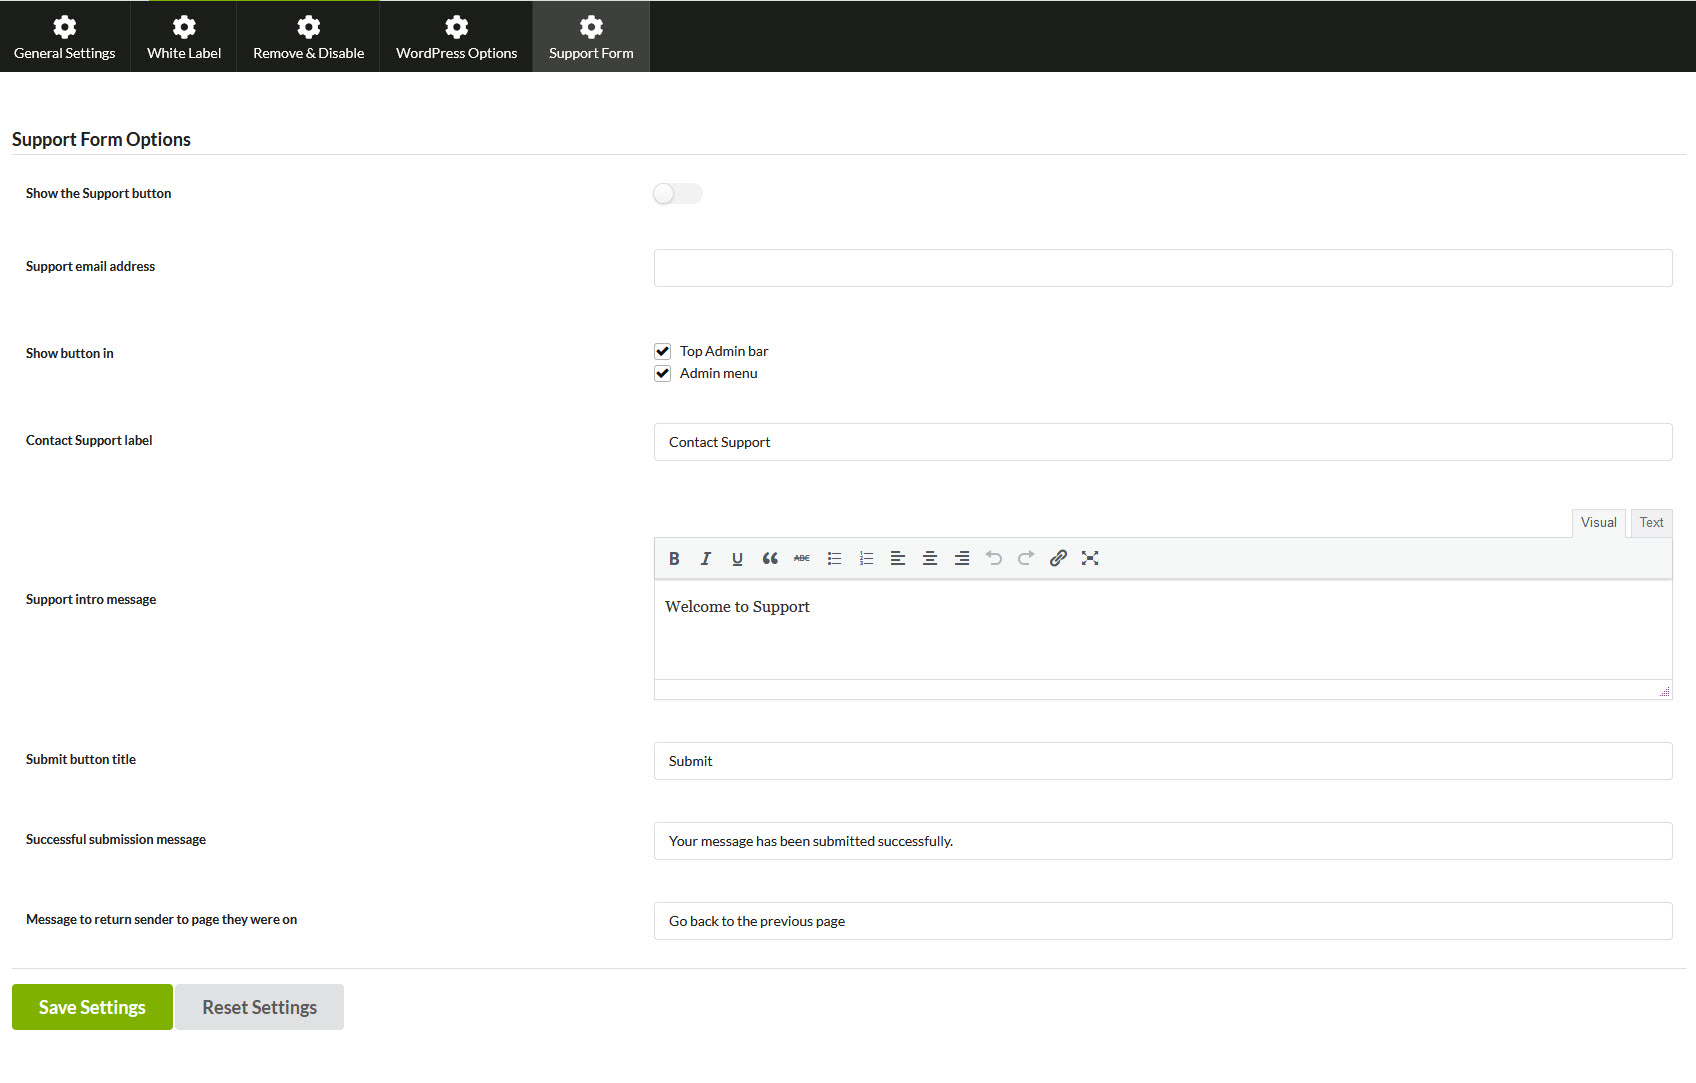
- Set the Enable Support Button option to YES
- Select where you want to display the Contact Support Button on child sites
- Set the Contact Support label
- Set the Intro Support Message
- Set the Submit Button Title
- Set the Successful Submission Message
- Set the Support Email Address (support form will stay disabled if the Support Email Address is blank)
- Click the Save Settings button
Enable the Contact Support Feature on Single Child Sites
- Login in to your MainWP Dashboard
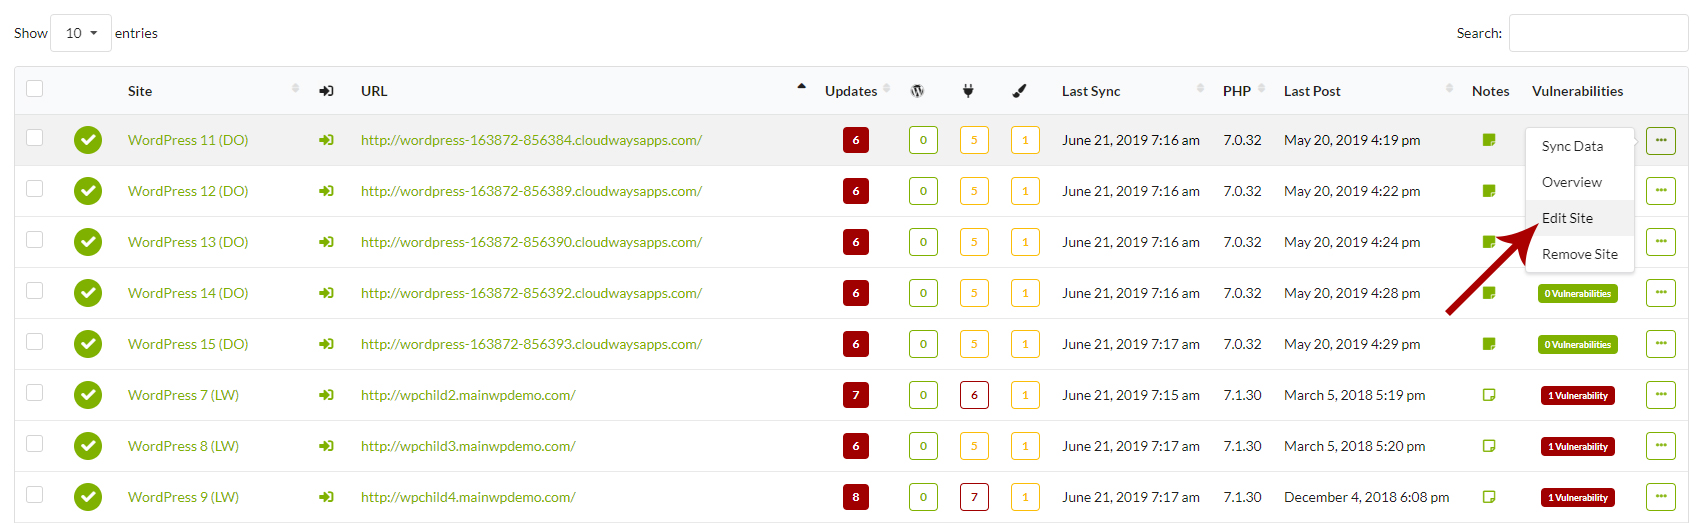
- Go to the MainWP > Site > Manage page
- Locate a Child Site where you want to rebrand the MainWP Child plugin
- Click the Edit action
- Go to the White Label tab
- Locate the General Settings option section
- Locate the Override General Settings option
- Set it to YES
- Locate the Support Form section
- Set the Enable Support Button option to YES
- Select where you want to display the Contact Support Button on child sites
- Set the Contact Support label
- Set the Intro Support Message
- Set the Submit Button Title
- Set the Successful Submission Message
- Set the Support Email Address (support form will stay disabled if the Support Email Address is blank)
- Click the Save Settings button
Important Notes
In case your child site gets disconnected from your MainWP Dashboard, and you are no longer able to remove applied branding options, please check the White Label Master Reset document to resolve the issue.