Before being able to create, display, or manage your monitors, you need to add your Uptime Robot API key to your Advanced Uptime Monitor extension.
- Login in to your MainWP Dashboard
- Go to the MainWP > Extensions > Advanced Uptime Monitor page
- Go to the Settings tab
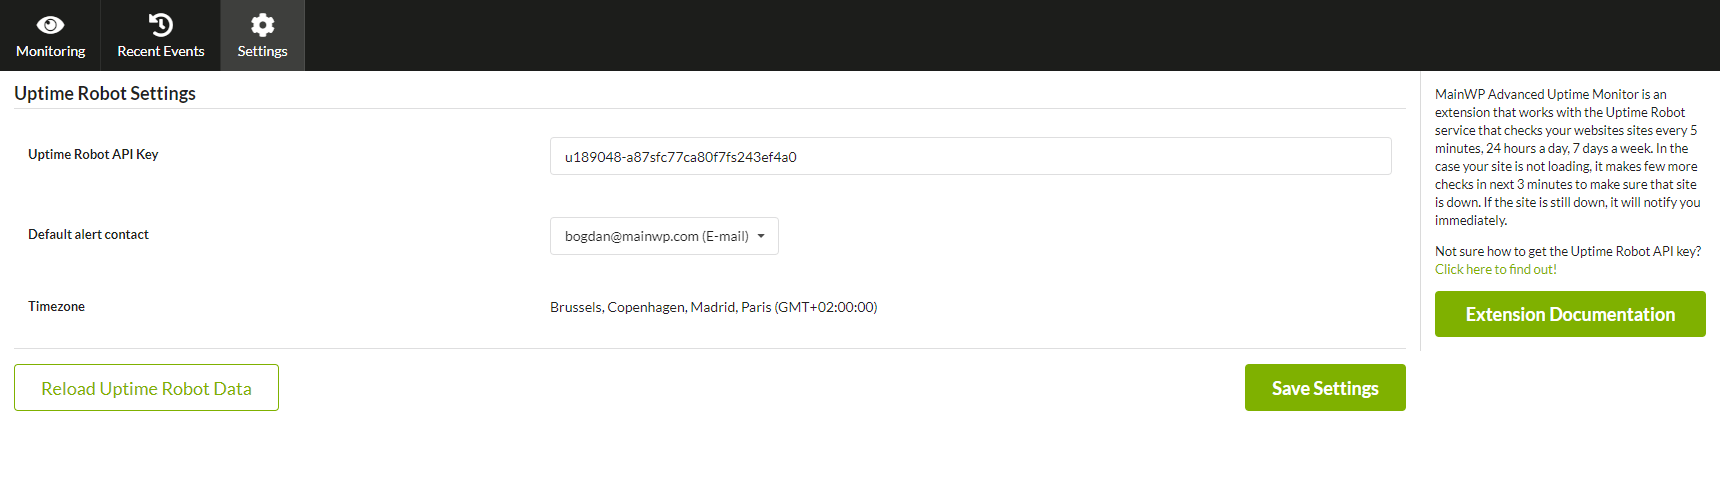
- Enter your Uptime Robot Main API Key in the provided field
- Click the Save Settings button
After you connect your account, you will be able to set the default Notification email address.
API limitations of the free Uptime Robot plan
Uptime Robot has recently reduced the limit to only 10 requests per minute. Requests include not only creating new monitors through the MainWP extension but also fetching information about existing monitors. Thus, reaching the limit is fairly easy for a large number of sites.
This limit is most often hit when creating monitors for all sites by clicking the appropriate button, “Create Monitors for All Sites” in the UI.
You will likely be able to create 2 or 3 monitors per attempt and receive an error (red exclamation mark) for other sites because the API limit will be reached.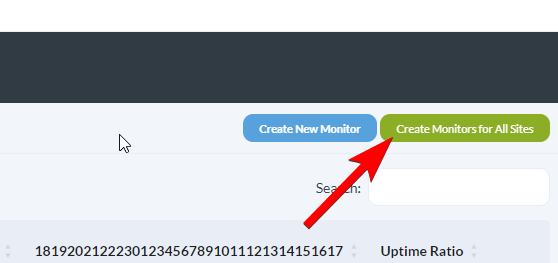
Important Notes
In case you are not able to connect your account, try to re-create your Uptime Robot API key and try again.
In case data is not loading properly from your Uptime Robot account, try to resave settings Uptime Robot settings in the Advanced Uptime Monitor Extension.